

BTC Hashcard Manual
This tutorial is applicable to Jingle Miner BTC Hashcard Configuration guide.
Manual directory
1. Product Introduction
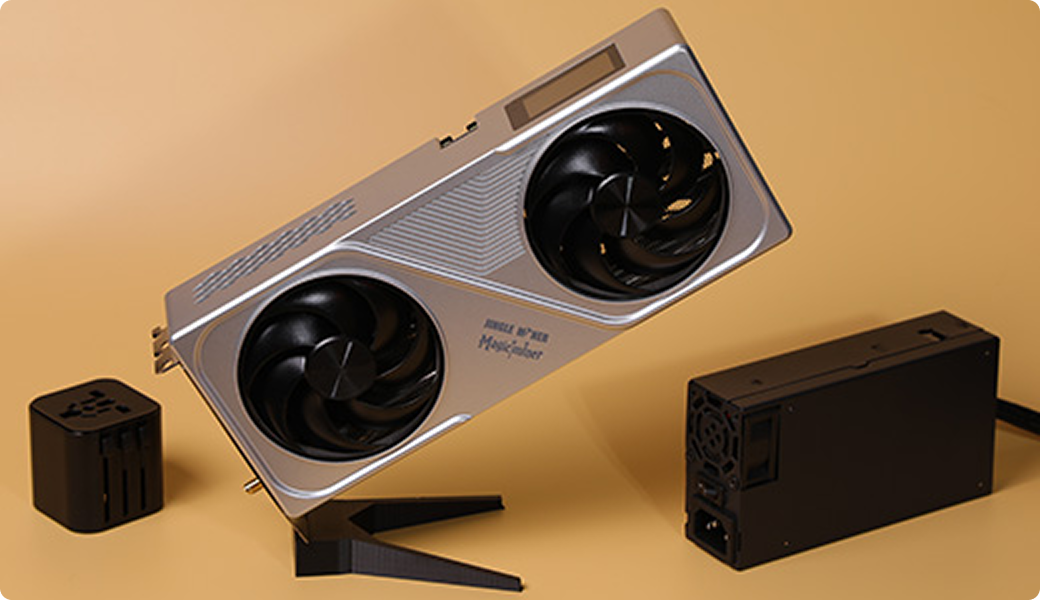
The BTC Hashcard includes:
BTC Hashcard x1
Quick Guide x1
12V34A Power Supply x1
Power Adapter x1
WiFi Stubby Antenna x1
Desk Stand x1
8PIN Power supply socket
FAN
Air Outlet
LED Screen
I/O Bracket (It features a standard L-shaped metal design, similar to a traditional GPU bracket, used for securing the device or providing structural stability.)
PCIe Express (Note: While the PCIe connector resembles that of a standard GPU, it functions solely as a mounting point and does not provide electrical connectivity or data transfer.)
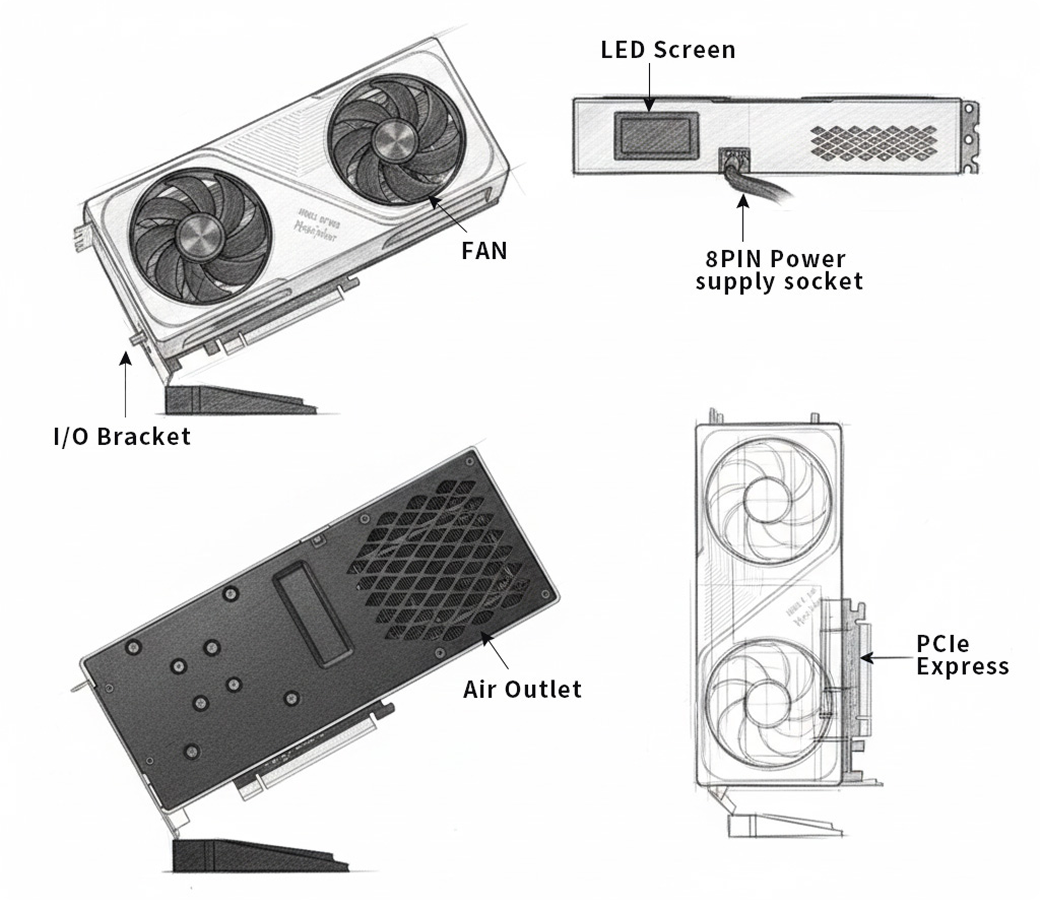
Hardware Structure:
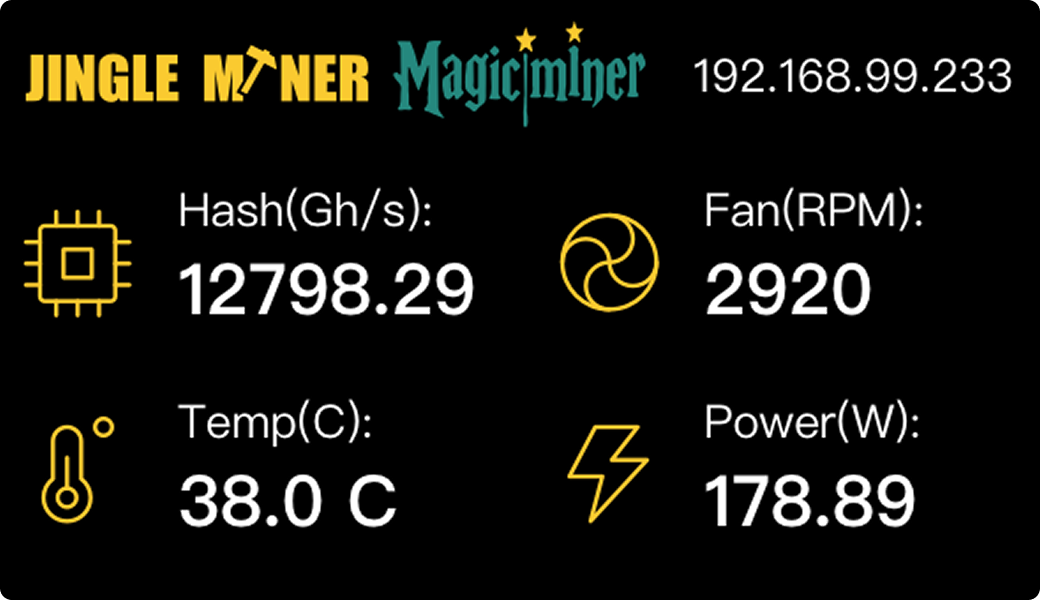
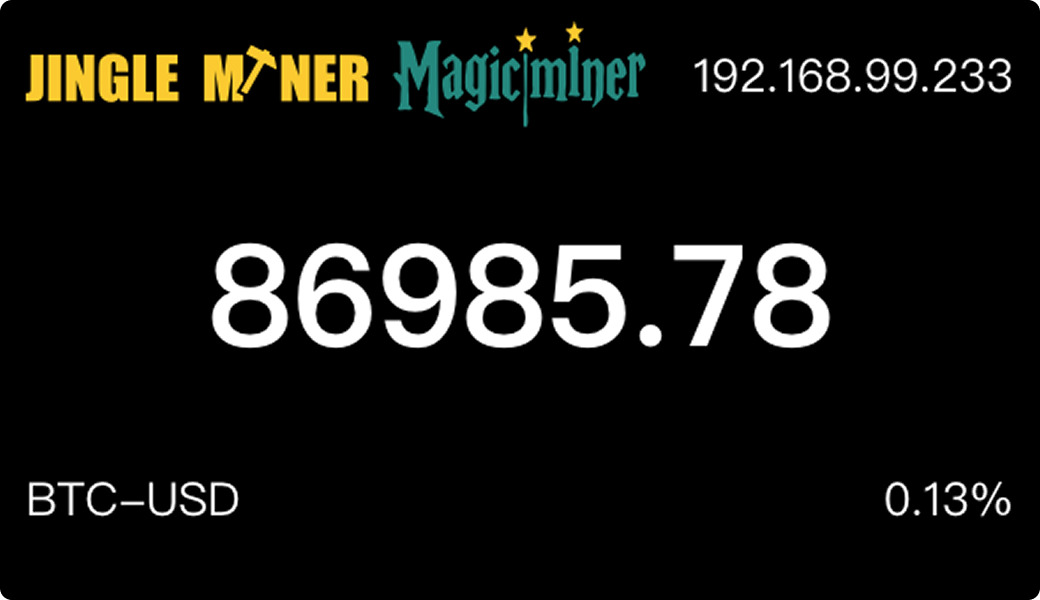
BTC Hashcard Screen LED display:
Hardware Performance: The monitoring dashboard displays the current operational status, including the IP address, hashrate, power consumption, fan speed, and operating temperature.
BTC Market Data: The interface shows real-time BTC-USD pricing and a 24-hour percentage change, indicating built-in market tracking capabilities.
2. Check the Miner
Before using the miner, please have an initial inspection with the miner:
Check whether the appearance of the package or the miner is deformed or damaged.
Check whether there is any abnormal noise in the miner.
If any of the above abnormalities are found, please take photos or videos first and contact the after-sales service by email: [email protected]
*Important: Do NOT try to dismantle the miner by yourself. Unauthorized disassembly will result in the warranty being voided.
3. Usage Precautions
Before starting the miner:
8 PIN GPU power supply interface
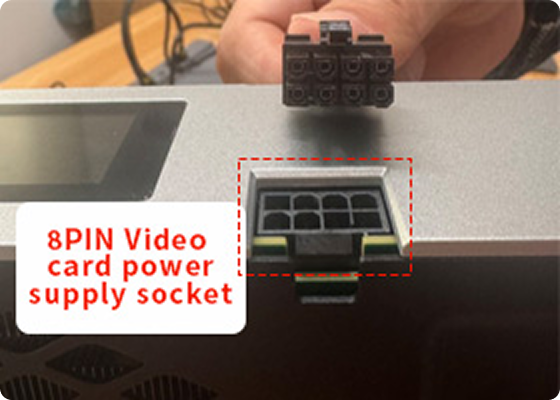
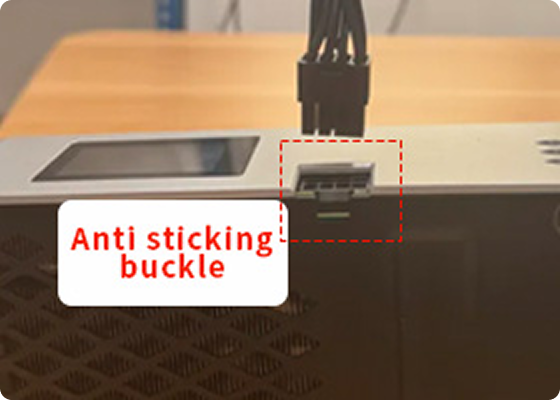
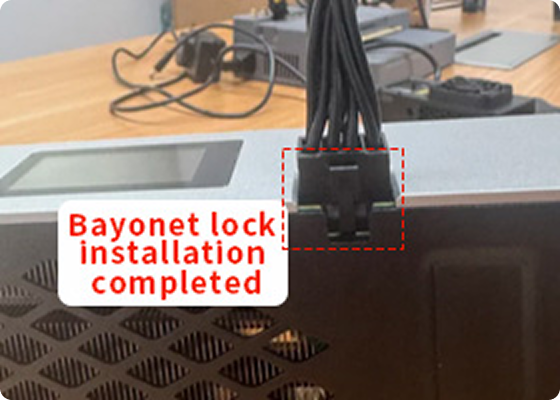
4. Initial Setup
1. Automatic WiFi Connection: Upon power-on, the device attempts to connect to the previously configured WiFi network. If connection fails after 15 seconds, it automatically enters configuration mode.
2. Access Point Setup: Search for the free access point named "JingleMiner_XXXX" (no password required).
3. Configuration Interface:
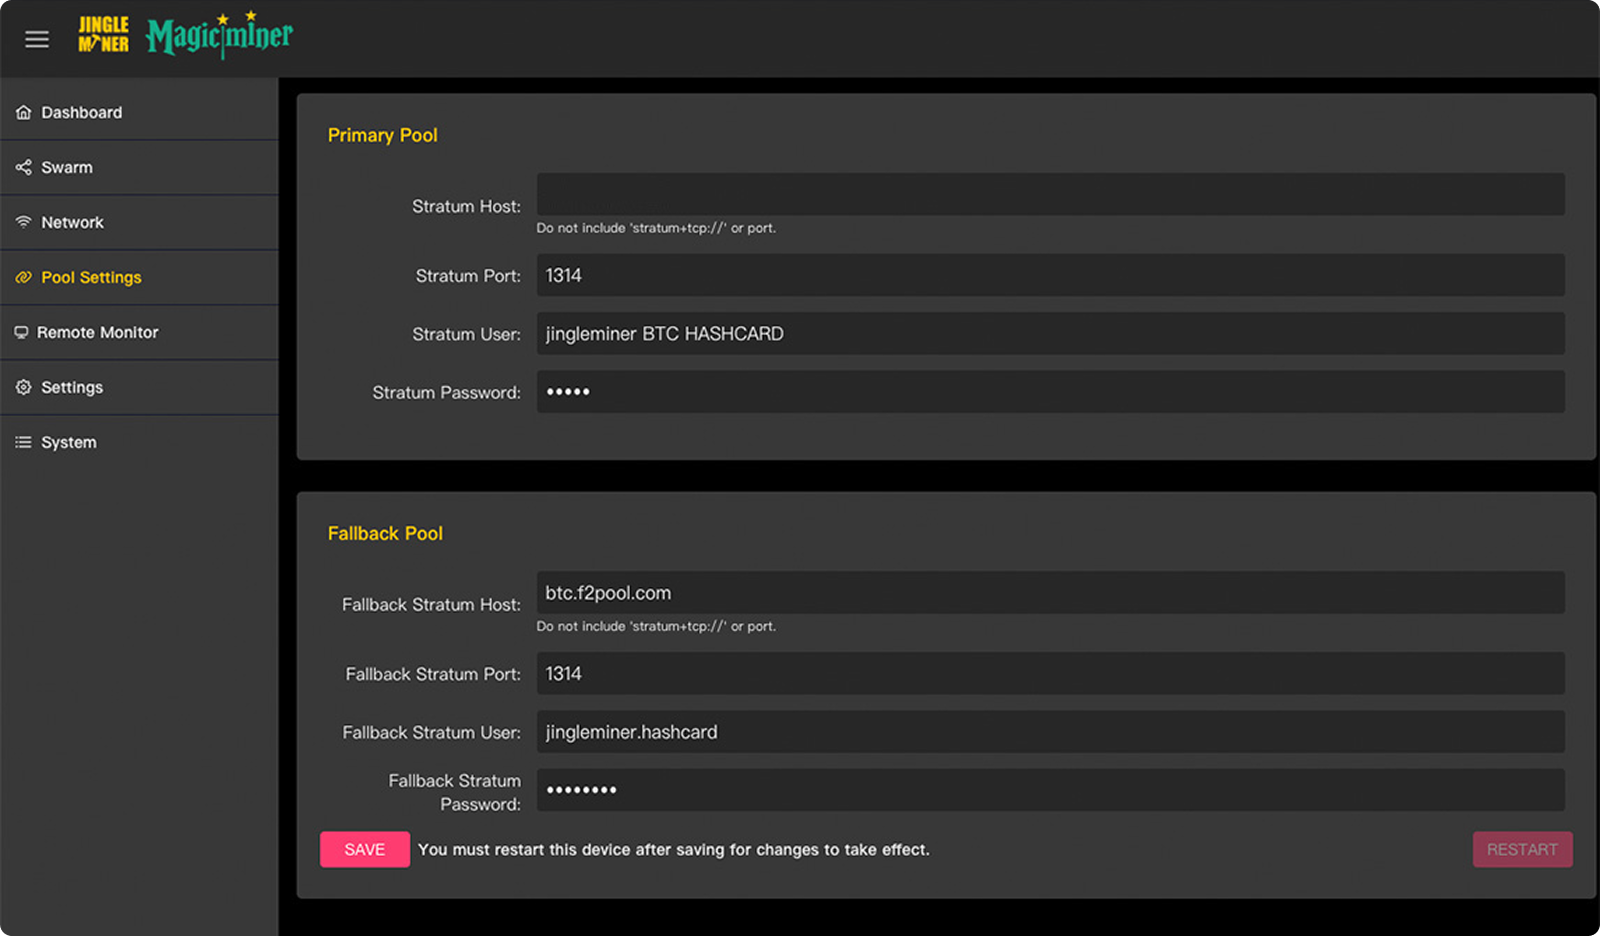
1) Select the Menu list on the Dashboard and perform the initial parameter configuration via the "Pool Settings" page.
2) Select your local network and enter the password. Input the Primary / Fallback Stratum Pool information and your wallet address.
*Note: The device can only connect to a 2.4 GHz Wi-Fi network, not a 5 GHz one.
*Assign Names to Miners: Please input your wallet address in the following format: '
*Note: Mining Bitcoin with this address serves the same purpose as your bank account number. It is a string of letters and numbers, usually starting with "1", "3", or "bc1".
*The stratum password: X
3) Miner Settings and Fan Controller: You have the option to tweak the mining frequency and fan speed to get the best performance in your current setup.
4) After checking all the settings, please make sure to hit 'Save' first, then 'Restart'. Your miner will then boot up and begin mining.
The following pools support stratum connections suitable for this hardware:
Standard Solo Pool
| Pool url | Port | Web URL |
|---|---|---|
| btc.solomining.xyz | 1313 | https://solomining.xyz |
| us.vkbit.com | 3333 | https://vkbit.com/ |
| btc.viabtc.io | 3333 | https://www.viabtc.com/ |
| btc.zsolo.bid | 6057 | https://zsolo.bid/ |
| solo.ckpool.org | 3333 | https://solo.ckpool.org/ |
| btc.luckymonster.pro | 7112 | https://luckymonster.pro/ |
| btc.millpools.cc | 4567 | https://millpools.cc/btc-pool |
Low Difficulty Solo Pool
| Pool url | Port | Web URL |
|---|---|---|
| pool.axeminer.com | 7777 | https://axeminer.com |
| pool.solomining.de | 3333 | https://poolsolomining.de/ |
| pool.sethforprivacy.com | 3333 | https://pool.sethforprivacy.com/ |
BCH Solo Pool
| Pool url | Port | Web URL |
|---|---|---|
| miningstore.cl | 4444 | http://pool.miningstore.cl/ |